

Post by Artemis on Nov 3, 2009 21:43:27 GMT -5
-------------------------
Recoloring Wolves on GIMP
--------------------------
Recoloring Wolves on GIMP
--------------------------
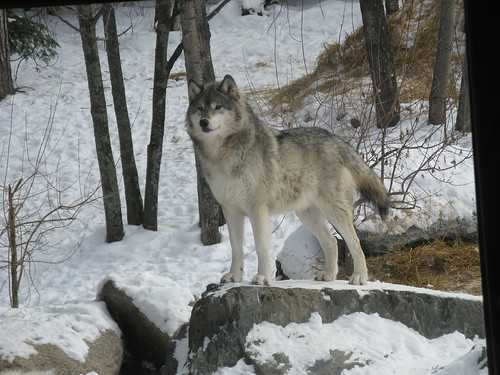
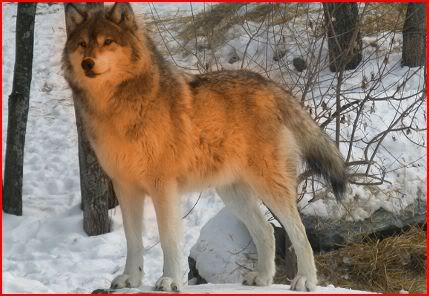
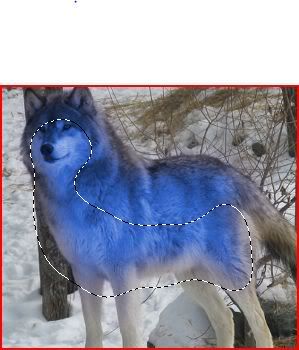
This picture shall be changed to a blue and orange wolf

O N E.
First, copy and paste your picture into the GIMP program. Next, select the free select tool. It is circled in blue in the following example:
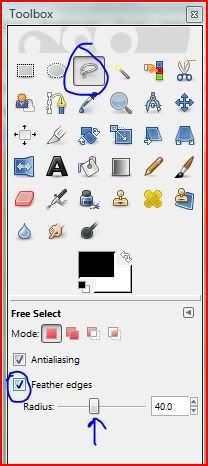
Note that it is set to feather the edges and radius is set to a length that reflects the fade effect you want in your wolf's coat color.
---
T W O.
Now, you want to select the area of your wolf that you want to be recolored. Remember that your edges are feathered and if you do mess up, don't worry, GIMP has undo history so that you can return at one click and you can start at this step again.
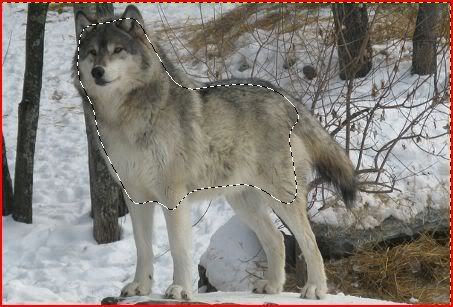
Note how I don't select outside the wolf. This is so that the color doesn't disturb the background too much. After selecting your wolf, copy and paste into a new layer so that you have two layers: the background with your wolf and also the piece you have selected over top of it.
---
T H R E E.
Now, you shall use the colorize, which is under the Color in the menu (Where it says File Edit Select...)
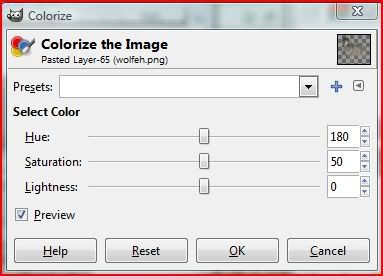
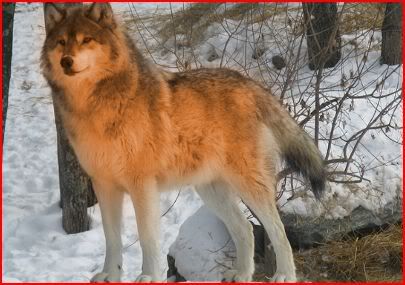
Play around with the hue you want. In this case, I chose a bright orange hue.
---
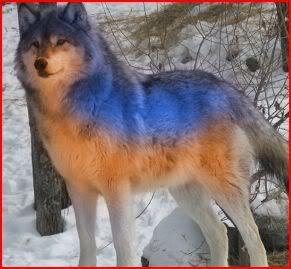
F O U R.
Next, you want to change the layer mode. I change it to Color mode, which is located near the bottom of the list.
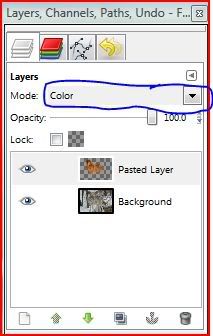
Play with opacity if you desire.
---
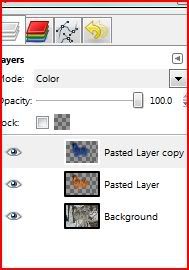
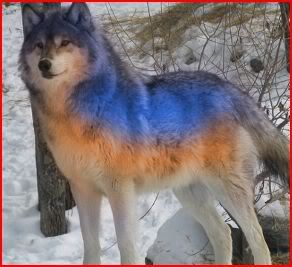
F I V E.
If recoloring a wolf with two colors, duplicate the layer you have just finished and colorize it with another color. Arrange them so that the top color is on top and the bottom color is on the bottom. In this case, I used blue as the top color.
---
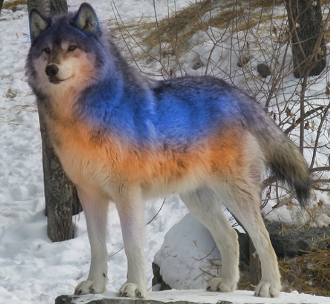
S I X.
Next, it's the cutting stage. Using the free select tool from before (feel free to play with cutting the edges; you may also use an eraser on this step), cut away at the top layer so that the bottom layers show through.

 How do you start a picture on there?